
How to create print materials
- Oct 11, 2018
- 3 min read
You can create print materials in two ways. You can create print materials by creating a new listing or you can create print materials for existing listings. Here we have provided instructions for both.
Creating a New Listing
If you wish to create print materials for a new listing follow these steps:
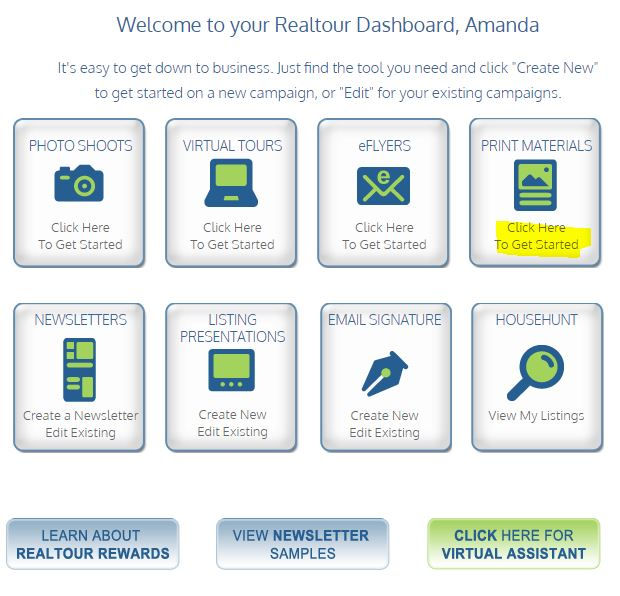
Log onto your account and click the Print Materials icon on your dashboard.
You will be asked to fill in your listing details. Fill in all of the info and details as it will then auto populate on your template. Once the information is complete you will see the continue button appear. Click the button to get to the next step.

You will then be taken to the template library. Click the tab for the format for the print materials you wish to create located across the top of the library box. Take the time to look at the templates available and choose the one that best suits your needs. You can search the templates by selecting the template criteria in the left hand column and restart your search by clicking the Reset Selections Button. You can click the Options menu below each template to preview the templates, and once your decide click Select under the Options menu.

The blank template will appear on the right complete with your listing details and your contact information. On the left you will see the editing panel. For multiple page documents you can click each page to edit.
If your images are not already uploaded, or to add additional images, click the Images tab and then click the upload button.

To add an image to your print materials, click on the image you wish to use and drag them into the green image squares. To replace an image, just click on the new one and drag it over the existing one. If you wish to delete an image square, click the blue X.

To bring the image square back click the green check mark.

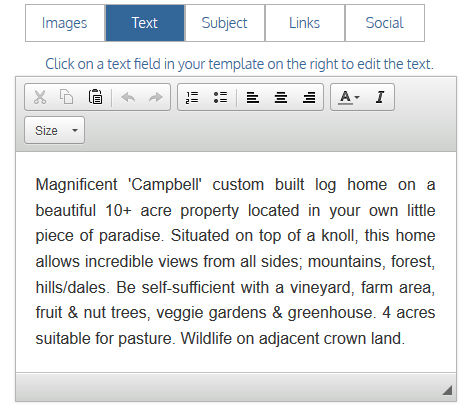
To edit copy click the text box you wish to edit on the template. It will appear in the side panel where you can make your edits. You can add, change and delete copy as well as change the size and color. You can click the Save button when you are done, or just click on the template to save your work.
Once you are satisfied with your work, click continue to go to the proofing page. If all is well you can click the "Download PDF" button. If you need to make changes click the "Edit Further" button.

You can also email the proof to your client by clicking the "Client Proof" button. Just add the email address and click the personal message field to add a message and the proof will be sent to your client.

If you wish you can also choose to email your PDF to the printer of your choice by clicking the "Regular Print" or "Full Bleed" buttons. Full bleed refers to any design in which the colors or images go right to the edge of the template. Just add your printer's email address and the details of your order such as quantity and paper type and they can begin the printing process for you.
Print Materials for an Existing Listing
If you wish to create print materials for an existing listing with either an eflyer, photo shoot or tour already created, click the Print Materials icon on your dashboard.

You will see all of your listings appear. Click Create New for the listing to which you wish to add print materials.

You can then follow the steps above.


Comments